
Editor-aware chat
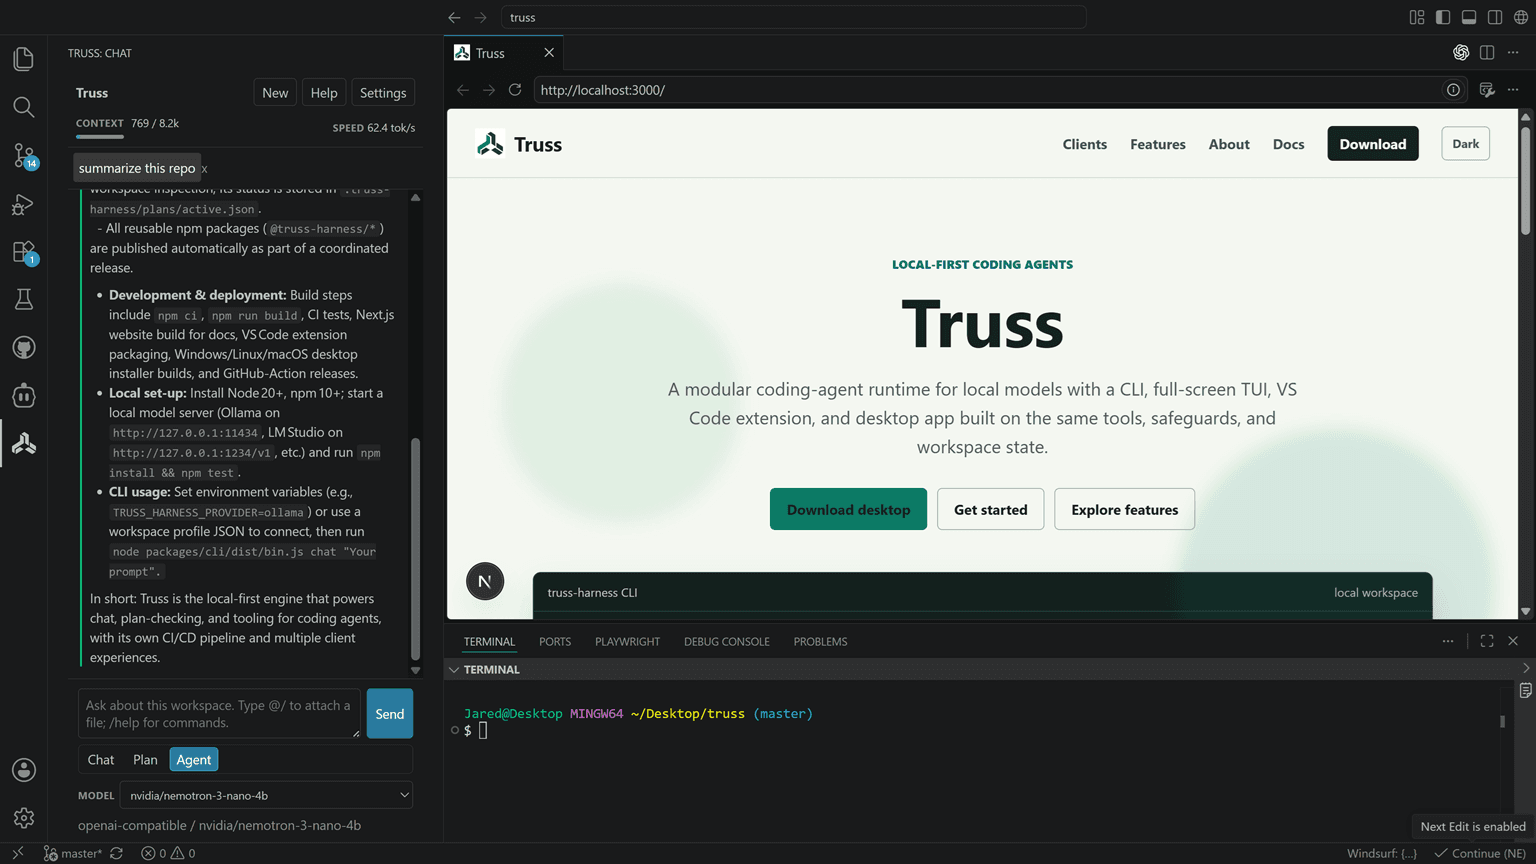
Attach up to eight workspace files through the composer and preserve useful conversation history in workspace state.
Truss for VS Code
Bring streaming chat, focused file context, inline completions, approvals, and Git-aware actions into a VS Code side panel.
What it is for
Attach up to eight workspace files through the composer and preserve useful conversation history in workspace state.
Switch between Chat, Plan, and Edit while keeping tool permissions explicit and appropriate to the workspace.
Accept local-model inline completions and generate a conventional commit message from Git changes without creating the commit for you.
Get started
Download the current signed VSIX from GitHub Releases, install it from the Extensions menu, then select a local server and model from Settings.
A typical flow
Download the signed VSIX from the Truss website and install it from the VS Code Extensions menu.
Open the Truss Activity Bar view and configure a detected endpoint or custom compatible server.
Choose a model, mode, and tool policy, then use chat and editor actions from the workspace.